In this post, we'll guide you through the process of importing ClickUp tasks from a list into PowerBI, leveraging the API. You won't need any additional tools or coding expertise.
However, field formatting will be necessary, which we won't cover here. For those looking for a simpler solution, you might find using a free connector like Asinaria to be more convenient. Click the button below to sign up!
To import your ClickUp list data, we'll use the 'Web' import feature in PowerBI Desktop. Just click on this option to initiate process.

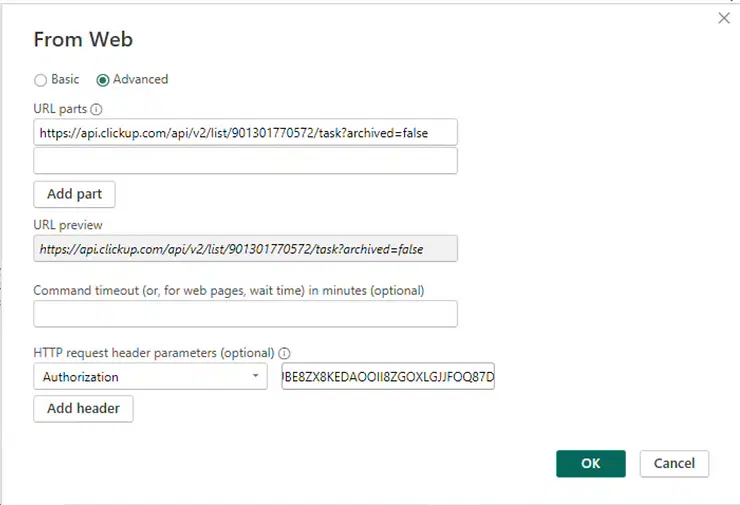
PowerBI will display a Window. Select the "Advanced" option. You should see a screen similar to the following.

In the URL part, you will have to insert the ClickUp API URL for retrieving tasks. You can go and check the documentation over here. Or you can just copy the following, it will work right away:
https://api.clickup.com/api/v2/list/LIST_ID/task?archived=false
Replace the LIST_ID with the actual ClickUp list id you want to export. To find it, just go to your ClickUp account and once you've located it, click on the "Copy Link" option

You should get a link that looks like this one. The last number is the List ID you are looking for:
https://app.clickup.com/9013063761/v/li/901301770572
Replace that ID into the first URL, and paste into PowerBI

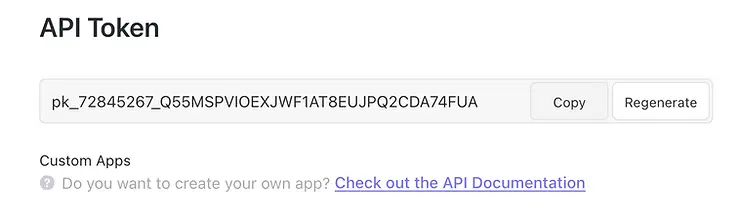
Finally you'll need to get you API KEY, find and click on your profile button. It's right at the top right corner of your screen.
Then click on "Setting". Once Settings page, in the left menu, look for the "Apps" option. Click on it. If ClickUp hasn’t given you an API token yet. You'll see an option to generate one. Once it's there, just copy it.
Back in PowerBI. Under the "HTTP request headers parameters" section. On the left box write "Authorization". on the right box paste your API KEY. It should look something like this:
Click on "OK". And wait. If PowerBI greets you with another window. Just go with the default options and continue. If all goes well, PowerBI will load a table similar to this one:

Be aware that you might encounter some challenges with certain properties, particularly those related to date types. To resolve these, you'll need to utilize additional PowerBI features designed for data customization and correction.
If you're looking to import your data quickly and effortlessly, without the hassle of extra steps, asinaria.com is your go-to solution. Simply click on the button below to sign up. asinaria.com will generate a pre-formatted link for you, ensuring your data is perfectly organized and ready for immediate use in PowerBI.